How to Prepare Your Home for Boiler Installation

A boiler is a crucial component in any home heating system. It’s responsible for heating water and distributing heat throughout a home. When it comes to installing a new boiler, it’s essential to ensure that the installation process is done correctly to avoid potential hazards or damage. In this article, we will discuss the process of installing a new boiler, including necessary steps, preparation, and considerations.
Preparation
Before installing a new boiler, it’s essential to prepare the area where it will be installed. This involves clearing the area and ensuring there is enough space to fit the boiler. It’s also necessary to ensure the area is adequately ventilated to prevent the buildup of harmful gases. The installation area should be well lit to facilitate the installation process.
Considerations
When choosing a new boiler, it’s essential to consider several factors to ensure the system meets your heating needs. Some of the considerations include the size of your home, the number of people living in the home, and the amount of hot water you require. You should also consider the type of fuel you will use for the boiler, such as natural gas, propane, or oil. The fuel type will determine the type of boiler you purchase, as some boilers are designed to work with specific fuel types.
Installation Process
The installation process involves several steps that need to be followed to ensure the boiler is installed correctly. The following are the steps involved in installing a new boiler.
Remove the Old Boiler
The first step in installing a new boiler is to remove the old boiler from the area. This involves disconnecting the old boiler from the power source, removing any pipes or wiring connected to the boiler, and removing the boiler from the area.
Install the New Boiler
Once the old boiler has been removed, the new boiler can be installed. This involves placing the new boiler in the designated area, connecting the pipes, and wiring it to the power source. The boiler should be installed by a certified professional to ensure it is installed correctly and safely.
Connect the Pipes
The next step in the installation process is to connect the pipes to the new boiler. This involves connecting the hot water pipes and the heating pipes to the boiler. The pipes should be connected according to the manufacturer’s instructions to ensure they are properly connected.
Connect the Flue
The flue is a critical component of a boiler installation. It’s responsible for venting the combustion gases out of the boiler and into the atmosphere. It’s essential to ensure the flue is correctly installed to prevent the buildup of harmful gases. The flue should be installed by a professional to ensure it’s installed correctly.
Connect the Controls
The next step in the installation process is to connect the controls to the new boiler. This involves connecting the thermostat and any other control systems to the boiler. The controls should be connected according to the manufacturer’s instructions to ensure they are working correctly.
Test the Boiler
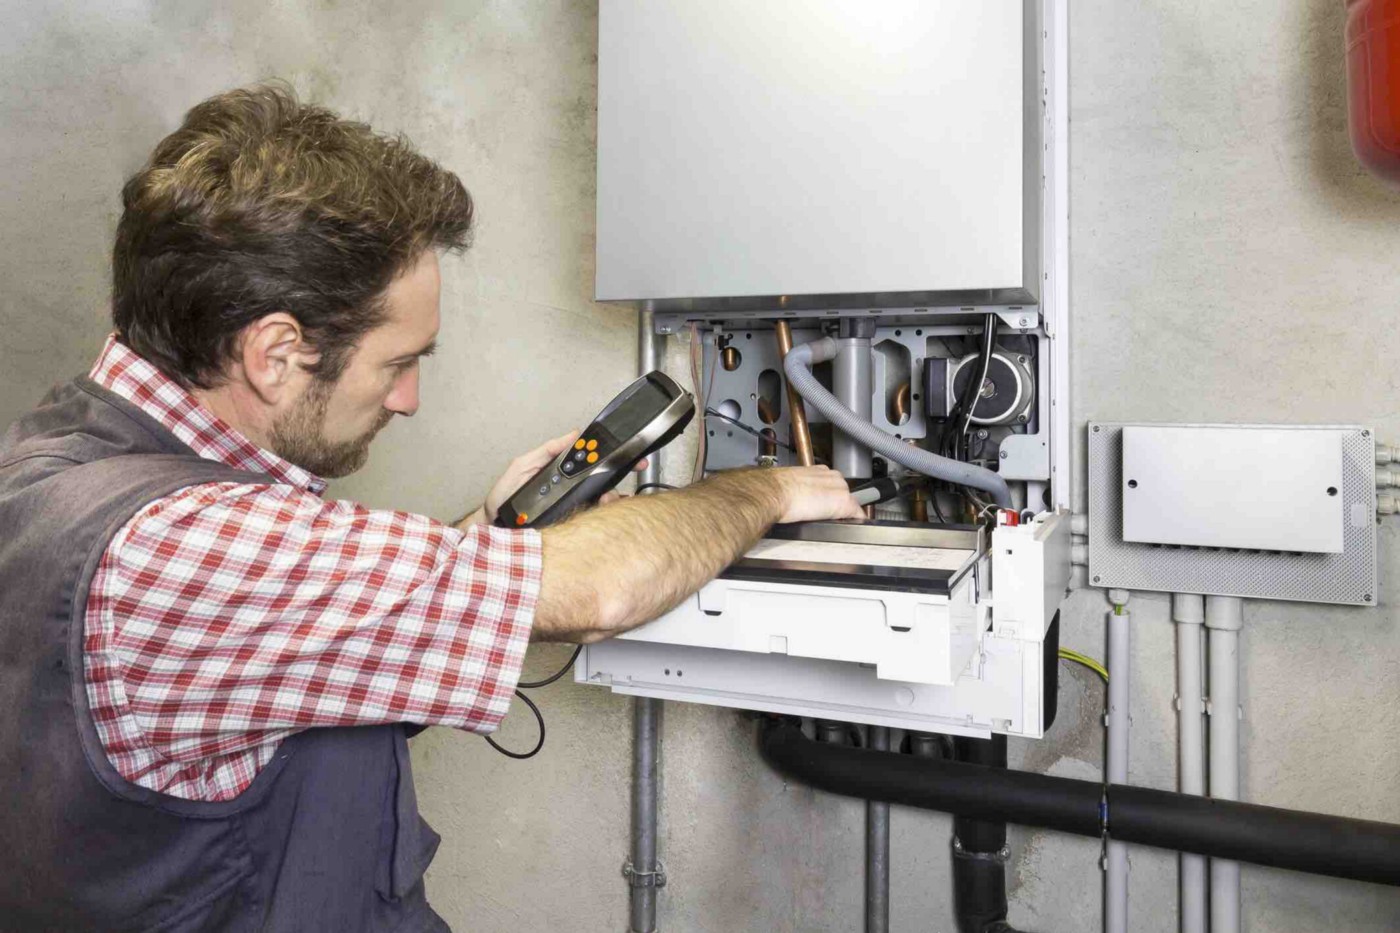
Once the boiler has been installed, it’s essential to test it to ensure it’s working correctly. The professional installer will conduct a series of tests to ensure the boiler is operating correctly and safely. These tests will include checking the pressure and temperature of the water, checking the flue for proper ventilation, and testing the control systems.
Conclusion
Installing a new boiler is a significant investment, and it’s essential to ensure the installation process is done correctly. It’s important to consider several factors when choosing a new boiler to ensure it meets your heating needs. The installation process involves several steps, including removing the old boiler, installing the new boiler, connecting the pipes, connecting the flue, connecting the controls, and testing the boiler. The installation process should be done by a professional to ensure the boiler is installed.