How to Draw A Cherry Easily
How to Draw A Cherry. When craving a healthy and tasty snack, few foods will satisfy both types of fruit you can enjoy.
Also check our cats coloring sheet.
Everyone has their favorite fruit, but some get mentioned more than others.
Cherries are a popular fruit, and their design makes learning to draw a cherry fun.
If that’s what you want to learn, you’re on the right track!
This step-by-step tutorial on drawing a cherry will show you how to draw one of these delicious fruits yourself!
How to Draw A Cherry
Step 1
For this tutorial on how to draw a cherry, let’s start with the two cherries themselves.
Cherries look easy on the surface, but getting a close look can be more challenging than you might think!
To draw these little fruits, use two rounded lines that curve backward. They should appear almost circular, but not quite since they have flatter bottoms than a circle.
They also have an indentation at the top where the stems connect. Speaking of that area, leave a small gap there, as we’ll be drawing the stems a little later.
Step 2
This part of your cherry drawing should be easy! All you have to do for this step is draw two curved lines, one for each cherry.
These curved lines go under the gap at the top of the cherries you left in the previous step.
That’s all there is to this step so that we can move on!
Step 3
In this step of our how-to draw a cherry guide, you’ll see why we left those little gaps over the cherries!
This step is simple, but it may require a somewhat steady hand. Carefully draw two lines from the top of the cherry to the right and curve into the shape you see in our reference image.
They should be close enough as the stem of the cherry is very thin. Once you’ve drawn that stem, you can draw another one from the cherry on the left.
This extends and connects to the stem of the cherry on the right.
Step 4
Your cherry drawing is progressing just fine! In this part, we will add some leaves to the stem of the cherries.
These leaves go near the top of the stem and are drawn with two curved lines that meet at a point. They might look a little bare now, but let’s add detail to them in the next step!
Step 5
This step of our how-to-draw-a-cherry guide is all about adding the final details and touches that the drawing needs before the final step.
The central aspect of the step is drawing a centerline through the leaves from the previous step.
Once you have this line, you can draw a few smaller lines branching off from this center line to indicate the leaf veins.
These final details mean your cherry drawing is ready for the final step! Before proceeding, however, feel free to add more details to your photo.
This can include small details like light reflections from cherries to show off those cherries on a plate with other fruits.
Step 6
This brings us to the final step of your cherry drawing! Now that your cherries are drawn, you can have fun coloring them.
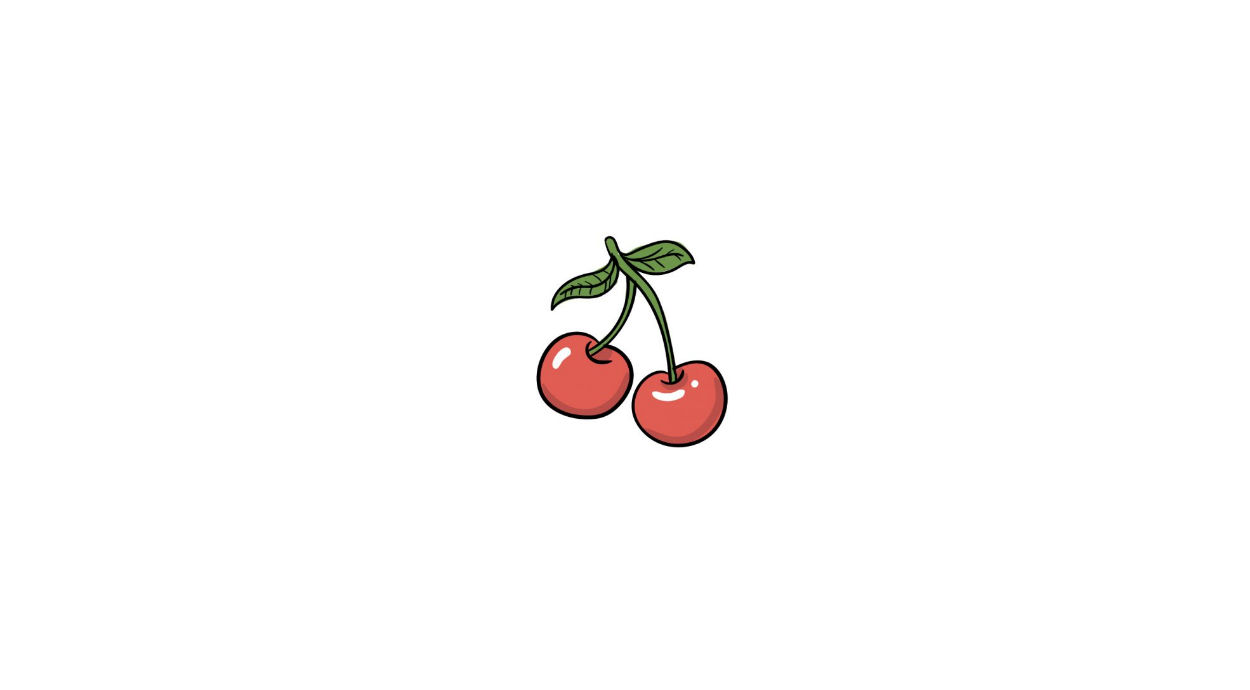
Cherries have a beautiful bright red color that makes them very eye-catching.
If you choose this realistic color scheme, as we did for our sample image, you have many options for creating these vibrant colors.
Art mediums like acrylic paints, crayons, and markers are great for making colors pop off the page!
You can use these media types to use more stylistic colors for your cherry drawing.
Going bright and bold is just one approach you can take, and you can even give those cherries a gorgeous look by using more muted mediums like watercolors and colored pencils.
Your Cherry Drawing is Finished!