How to Draw A Blue Jay

How to Draw A Blue Jay. There are so many birds in the wild, and each has its unique texture, coloring, and characteristics. One of the cutest little birds you can find is the blue jay.
Also, check out our Unicorn Coloring Pages.
These cute little birds are known for their adorable blue and white coloring. This made them popular worldwide, and many fans of this bird would love to learn how to draw a blue jay. If you’re one of those fans, this guide is made for you!
How to Draw A Blue Jay
Step 1
We’ll start by outlining the head and beak in this first step of our guide to drawing a blue jay.
As shown in the reference image, we’ll use curved lines to create the bird’s head and beak.
There will also be a little, sharp crest growing behind the head. We’ll be adding more details soon, so keep going!
Step 2
We mentioned adding detail to the head and beak, and that’s exactly what we’re going to do in this part of your Blue Jay drawing. You can start by drawing a small circle with a dot for the bird’s eye.
Next, we’ll use sharp curved lines inside the head to add feathery detail to this area.
You can complete this step by creating the small Blue Jay chest with some hard lines.
Step 3
For this third part of our guide to drawing a blue jay, we’ll start with the bird’s wing.
This first section of the wing is split into two parts. The first is drawn with some separate lines.
Then, from this jagged line, you can draw a series of longer, sharper shapes for the feathers on the wing.
You’re good to go if you’ve seen it in our reference image!
Step 4
We finish the wing you started in the previous step to draw your blue jay in this part.
First, use some sharper lines to create the outline of the wing, which extends backward and ends at a rather sharp point.
Next, we’ll add lots of feather detail to the wing to finish it off. We can draw these feather details using a combination of straight and curved lines.
Step 5
In the next few steps of this blue jay drawing guide, we’ll add the final elements and details to your image.
In this part, we will focus on the underside of the bird and the tail. The bird’s belly is drawn with a few more curved but smooth lines.
Below is a small part drawn with a more jagged line since this is where the leg will come out.
Next, we draw the tail of the blue jay. We will draw the tail with some straight lines, so we’ll draw some small pointed shapes in one line on the tail to decorate it.
If that sounds complicated, the reference image shows you what it should look like!
Then we only have a few final touches before we colorize your image.
Step 6
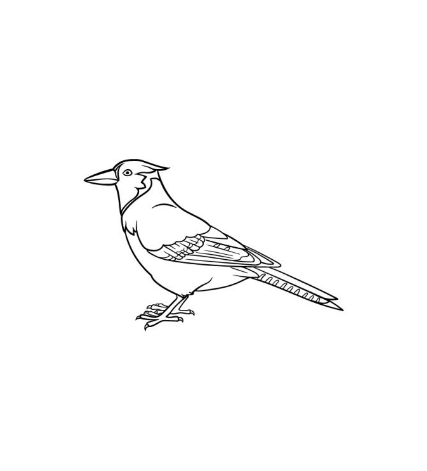
That blue jay drawing of yours looks amazing! In this part, we will put the finishing touches on the image before the last part.
This step’s main element is adding the skinny legs underneath the blue jay.

This completes the details in this guide, but feel free to add your own! You could draw a background to show where this blue jay is and draw more birds and animals if you are ambitious.
These are just a few ideas, but get creative and see what you can think!
Step 7
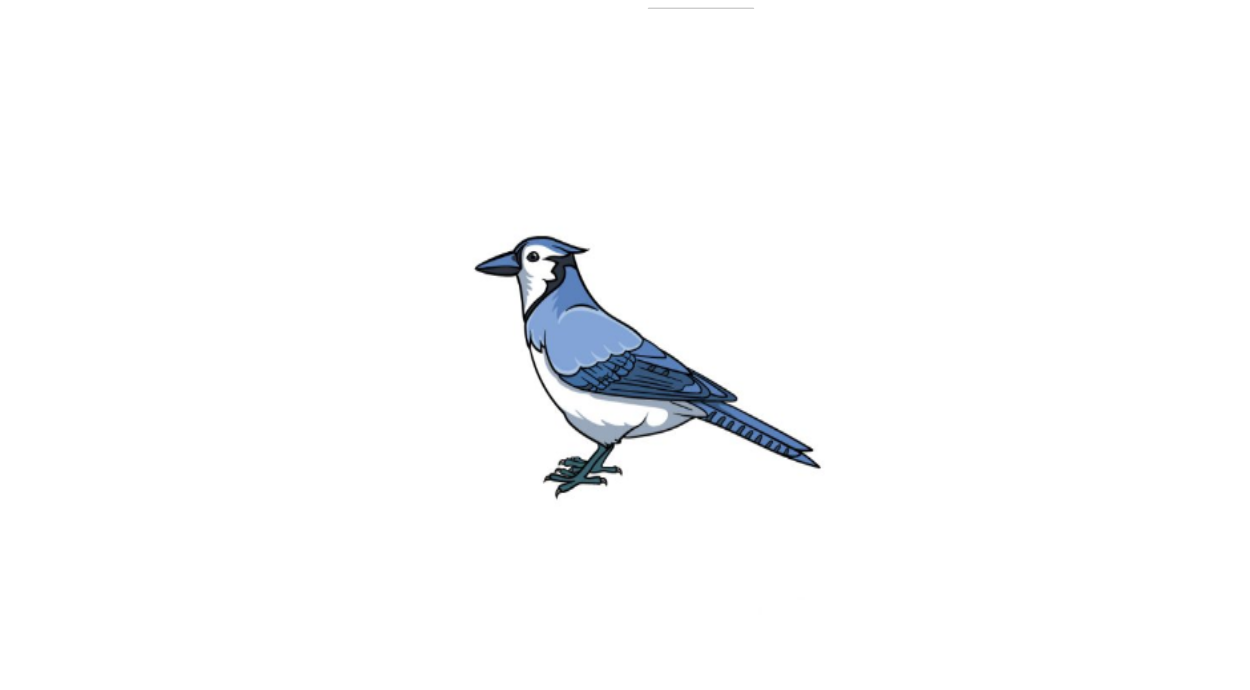
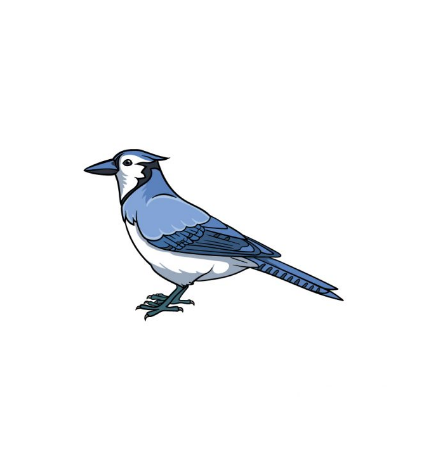
You’ve reached this blue jay drawing guide’s final step, and it’s time to color your artwork.

As the name suggests. A blue jay typically has a lot of blue in its coloring. Some white counters it in its coloring.
Using different mediums and art tools, you can also change the colors for your variation and achieve unique color looks. We can’t wait to see how you finish this photo!
Your Blue Jay Drawing is Finished!