How to Create Neon Nails
If you’re looking for a bright and fun new way to decorate your nails, you should consider creating neon nails! There are a few basic steps to creating the look Nude Nails, from choosing a neon nail polish to applying it. If you want a more subtle look, you should try a softer neon shade, such as blue, orange, or pink.
Creating neon nail designs
If you want to create a neon nail design that is completely unique and eye-catching, you can choose different shades of the color for each nail. For example, you can create a neon ombre look by using a base color of neon yellow and adding different shades of neon blue. Then, apply a top coat to finish the look.
You can also create neon-color gradients. To create this look, you need a sponge and two or three shades of neon nail polish. Once you have the perfect shade of neon, you can then add glitter and rhinestones to your nails. Alternatively, you can choose to create a geometric design or a minimalist neon nail design.
Another trend that is extremely popular right now is the tribal pattern. The combination of neon colors and tribal patterns works incredibly well. Nail artist Ane Li chose pink and yellow neon colors to accent her black tribal pattern. This combination looks great and is a fun way to show off a dazzling manicure.
Neon nail designs can be very simple to create and can be worn on all finger and toe nails. You can also find neon versions of almost every primary and secondary colour. The bright and playful look of neon nails makes them one of the most popular summer trends. With over 43 different neon nail designs on Instagram, you’re sure to find one that catches your eye.
There are several ways to create neon nail designs, but one of the easiest is by using strips or stripes. Another great design is a neon ring nail. It has a daisy-like floral pattern and evokes summer vibes. Lastly, you can create a neon ombre.
To create neon ombre effects, you need to know how to apply the colors to the nail. First, you need a base color. Next, you can layer several shades of neon nail polish, using a dotting tool. Make sure that you follow the curve of the nail’s tip. Once it dries, you can apply a top coat that will make it shiny and vibrant.
You can use neon nail polish to create a neon emoji Ombre nails, which is a great way to express your emotions. Another way to add color to your nails is by adding swirls. These are great for summertime and are perfect for any occasion. Whether you’re planning to attend a wedding or simply want to show off your new neon nail design, you can’t go wrong with them.
Choosing a neon nail polish
Choosing a neon nail polish color can be tricky. It stands out against almost any skin tone and level of darkness, which is why it is important to choose a color that flatters your skin tone. There are four main categories of undertones: cool, warm, neutral, and olive. This information will help you choose the right color for your nail polish.
When choosing a neon nail color, it is important to keep in mind your work environment. A conservative workplace may not permit you to wear neon nail polish, while a creative one may allow you to go wild with the color. Neon toes are a good choice for offices that encourage creativity. To achieve the best look with a neon nail polish, make sure to push back the cuticles and shape your nails correctly.
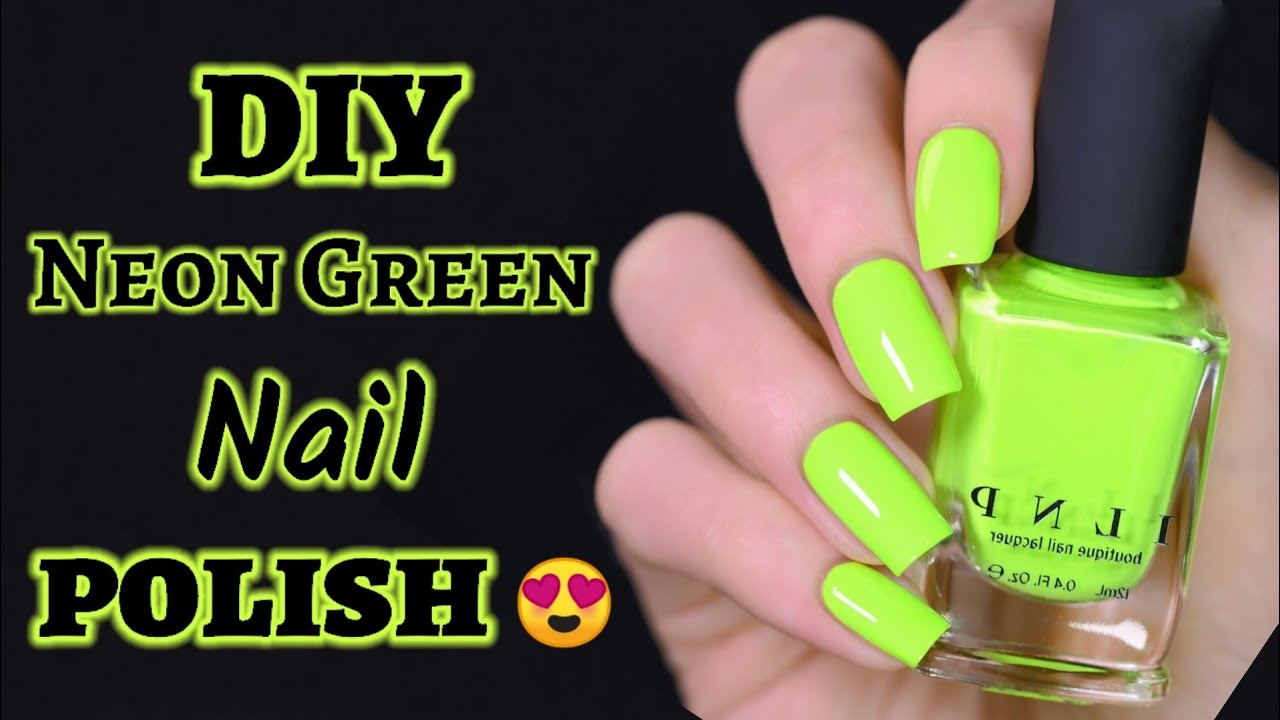
The choices in neon nail polish colors are endless! While bright colors like neon green are a crowd-pleaser, remember to choose a color that complements your skin tone. For example, neon green and yellow are good colors for people with dark skin, while those with light skin can choose neon pink or purple. Besides the traditional neon nail polish colors, you can also choose long, almond-shaped nails with chunky glitter. These colors look gorgeous and are perfect for prom.
Neon nail polish colors should be chosen with caution if you have olive skin. Since olive skin has green undertones, a warm neon shade on olive skin could look sickly. However, a warm red nail polish will be beautiful on people with cool undertones. It will pop against the dark skin tone, but won’t clash with your skin tone.
Applying neon nail polish
Applying neon nail polish can be a simple process, but it is important to follow a few guidelines. First, you need to apply a base white coat. This helps bring out the neon color to its fullest. Next, you should apply the neon colors. The process will take approximately six to seven minutes. After that, you can use a nail polish remover to remove any mistakes.
The color you choose should be flattering for your skin tone. This is especially important for neon nail polish because it will stand out against any level of darkness or skin tone. However, a good neon color can suit any skin tone, as long as it has the right undertone. In general, there are four basic categories of undertones: warm, neutral, and olive.
Before applying neon nail polish, you should always use your dominant hand. This will allow you to make fewer mistakes than if you use your non-dominant hand. You can also use your dominant hand to clean up any mistakes you make. By following these guidelines, you can apply neon nail polish with confidence.
When applying neon nail polish, make sure you carefully shape your nail before applying the colour. Neon nail polish can be very bright and streaky. It can also be see-through or matte. It is important to follow the instructions carefully to avoid creating an unappealing finish. This can make the neon nail polish appear streaky and see-through.
A good way to apply neon nail polish is to wrap it under the tips of your nails to prevent tip wear. After that, let the neon nail polish air-dry before applying topcoat. For best results, apply two coats. After that, apply topcoat for extra protection. Neon nail polish is the perfect color for a night out or a party.