How do you Prepare a Floor for Sanding?

The time has come to re-finish your hardwood floors. You may be tempted to just jump right into the sanding job, but there are a few important things to do first.
Preparing your wood floor is an essential step in the wood floor restoration process, so take your time and make sure you do it right.
Here are a few things to keep in mind when preparing your floor for sanding. It’s time to refinish your hardwood floors and make them look like new again.
But before you start sanding, there are a few things you need to do to prepare your floors. Taking the time to prepare your wood floors correctly is an important step in the process of restoring them to their natural beauty.
Here are a few things to keep in mind when preparing your floors for sanding. Now that the time has come to refinish your hardwood floors, you may be feeling overwhelmed.
But don’t worry! We’re here to help you every step of the way. Just follow these simple tips on preparing your floor for sanding and you’ll be well on your way to a beautifully restored wood floor.
So, it’s time. You can’t stand to look at your scratched and worn-down hardwood floor any longer. It’s time to re-finish the floor and restore it to its natural beauty.
Preparing your wood floor is an important step of the wood floor restoration process, so make sure you take your time with it. Here are a few things to consider when preparing your floor for sanding.
If you’re living in Denmark and need floor sanding services in Copenhagen (gulvafslibning københavn), then GULVKBH.dk is the best resource for you. They’re experts in the field and will be able to provide you with the best possible service.
Clear the Room before Sanding
This is probably pretty obvious but before you begin sanding, you will want to remove all of the furniture and clear out the room. Even though you will be sanding your floor down, it is still a good idea to take care when you move the furniture out of the room.
There is no need to create more scratches on your floor. Before you begin sanding your floors, you will want to take some precautionary measures to avoid doing more damage. First, remove all of the furniture from the room.
You don’t want to risk any large pieces scratching up your newly sanded floors. Secondly, clear the room of any other items that could get in the way or be potentially damaged by the sanding process.

Clean the Floor
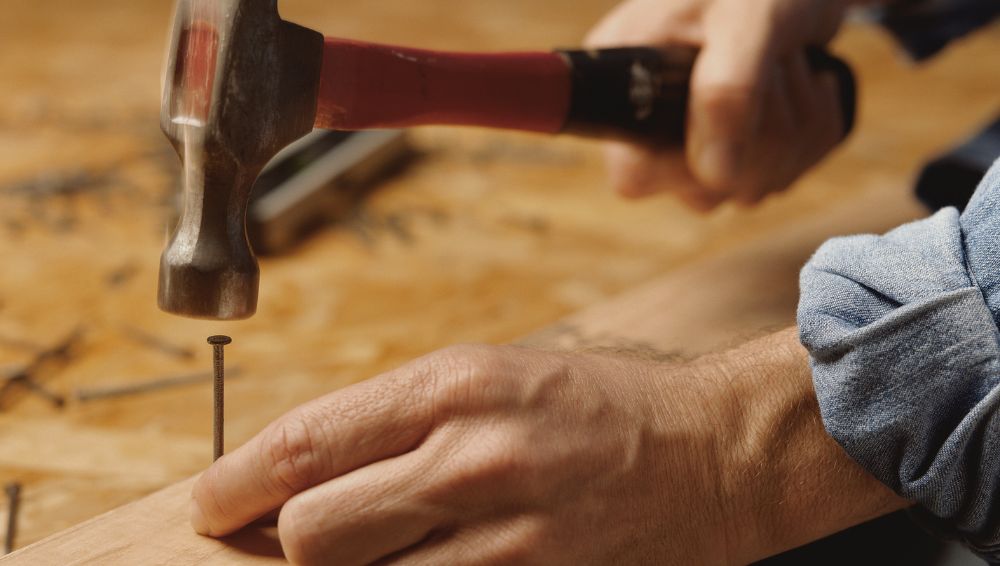
Over time, your hardwood floors will settle and some of the nails will become exposed. To prevent further damage to your floors and the sanding machine, go around with a hammer and sink all of these nails back into the hardwood floor.
Your floor will settle and this may cause some of the nails to become exposed. Be sure to go over your floor with a hammer and sink any exposed nails back into the hardwood.
This is a necessary step to avoid damaging your floor further or causing damage to the sanding machine. As your hardwood floors age, it’s not uncommon for the flooring to become loose.
This can cause nails to protrude from the surface. To avoid further damage to your floors and the sanding machine, use a hammer to sink any exposed nails back into the hardwood.
Over time, your hardwood floors will inevitably experience some shifting. This can cause nails to become exposed.
Be sure to go around with a hammer and sink any exposed nails back into the floor. This is a necessary step, as you do not want the sanding machine to catch these nails and cause more damage.
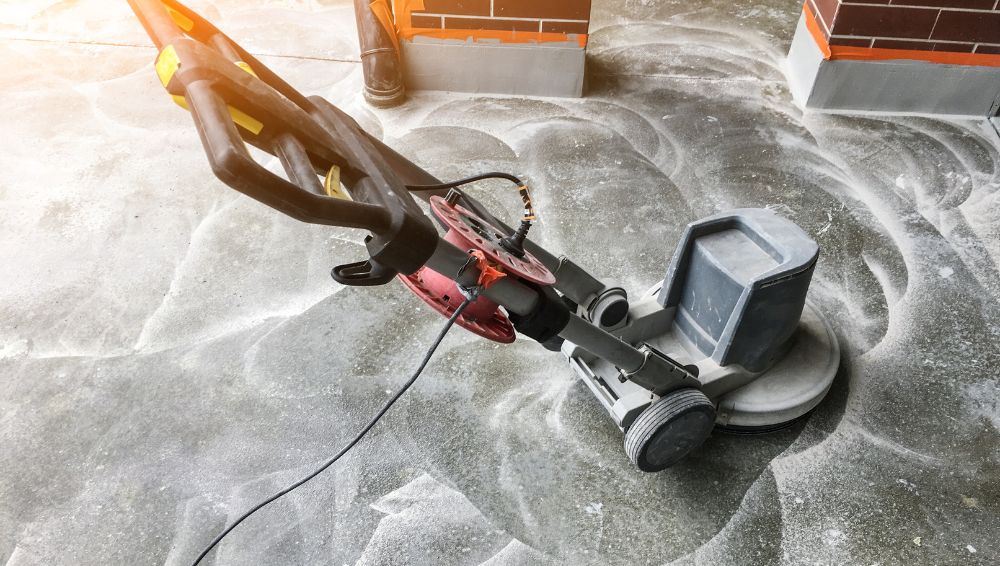
Protect the House from Floor Sanding Dust
Before you begin sanding, you’ll need to take some precautions. Make sure to put sheeting or covers on all the furniture in the room, and if possible, try to cut off the room from the rest of the house by closing all the doors to other rooms.
This will save you time when it comes to cleaning up afterward. Although the steps involved in preparing your floor are not complicated, you must follow them carefully.
Before you begin sanding, take some time to protect your furniture by draping it with sheets or covers.
You’ll also want to try to seal off the room as much as possible from the rest of the house by closing all the doors to other rooms.
This will save you time and effort later when you have to clean up all the dust. Although the steps involved in preparing your floor are not difficult, it is important to take the time to follow through with all of them.
You get started with the sanding; take some time to protect your furniture by placing sheets or covers over them.
Additionally, try to shut off the room from the rest of the house by closing all the doors to other rooms. This will save you time later when you have to clean up all the dust.
Although the steps to preparing your floor are not difficult, they are important, so make sure you follow through with all of them.
Hammer In the Nails
Over time, your floor will inevitably settle and cause some nails to become exposed. To avoid any more damage to your floors and sanding machines.
Go around with a hammer and sink all of these nails back into the hardwood floor. This is a necessary step in order to keep your floors in tip-top shape!
Your floor will inevitably settle and this may cause some of the nails to become exposed. Make sure to go around with a hammer and sink any exposed nails back into the hardwood floor.
This is a necessary step, as you do not want the sanding machine to catch these nails and cause further damage to your floor or the machine itself.
Your hardwood floor will inevitably settle and this will often cause the little nails to become exposed. Go around with a hammer and sink all of these nails back into the hardwood floor; this is a necessary step.
You don’t want the sanding machine to catch any of these nails and cause more damage to your floor or the machine itself.
Your floor will inevitably shift. This may cause small nails to become exposed. You must go around your floor with a hammer and sink these nails back into the hardwood.
If you don’t, the sanding machine may catch them and cause more damage to both your floor and the machine.
Conclusion
When preparing a floor for sanding, there are a few things to keep in mind. The first thing is to make sure that the floor is clean and that all of the dust and debris is removed.
The next step is to determine the type of prep that is needed. That usually depends on the type of flooring. For example, if you have tile, you will want to use a wet/dry sander.
If you have hardwood, you will want to use a drum sander. The last thing to consider is how you will protect the floor. If you have tile, you will want to use plastic, and for hardwood, you will want to use an adhesive.
For more inforamation visit our website.