How to Draw Bird Feeder Drawing
Bird Feeder Drawing
Figure out how to draw an incredible-looking Bird Feeder with simple, bit-by-bit drawing guidelines and video instructional exercises. You can draw a delightful Bird Feeder without much stretch following the straightforward advances. “However her words are straightforward and few, ‘Tune in, tune in,’ she’s calling to you, ‘Feed the birds, tuppence a sack… Tuppence, tuppence, tuppence a sack.” – “Feed the Birds,” a melody from Mary Poppins. Bird feeder Drawing & cute drawings ideas or other drawing ideas tutorial available on cool drawing idea website.
Might you want to figure out how to draw a bird feeder? This simple, bit-by-bit object drawing guide will assist you with dominating the bird feeder frame. Do you have a bird feeder on your patio? Many individuals do. Taking care of and watching birds is a pleasant leisure activity that assists you with finding out about the creatures in your area. Certain individuals like to track the birds they see. These are called life records. You can utilize a book called a field manual to assist you with sorting out what the birds are.
What kinds of birds could you see? If you live in North America, the Northern Cardinal is a typical feeder bird. Its radiant red tone promptly distinguishes it. Grieving birds, a kind of pigeon, frequently gather under bird feeders. Chipmunks and squirrels like eating from the feeder, as well! You may likewise see mockingbirds or eastern bluebirds. However, these seldom visit bird feeders. Why not attract pictures to delineate your life list?
If you prefer this instructional exercise, see the accompanying drawing guides: Toucan, Blue Jay, and Raven.
stage 1
Start the bird feeder frame by drawing the house-like shape. For the foundation of the feeder, draw a rectangular shape, yet notice that two inclining corners have been leveled. Then, at that point, utilize straight lines to outline the rooftop’s triangle and square shape states.
stage 2
Start outlining the wall and deleting it as required. Draw restricted, upward, rectangular shapes that are skewed on the top. Utilize straight lines to encase the edge of the rooftop. Draw another straight, even line close to the pinnacle of the rooftop. Then, at that point, detail the foundation of the bird feeder. Utilize straight lines to blueprint and surface the rectangular front and side.
stage 3
Draw more walls. Utilize straight, vertical lines to encase and detail the rectangular shapes. Then, define straight boundaries between a portion of the tops and bottoms of these points of support.
stage 4
Detail the rooftop with straight lines. Utilize bent lines to portray the “C” formed hanging snare, the bunch, and the string that holds it. Wrap up itemizing the foundation of the feeder with straight lines. Then, at that point, utilize bent lines to demonstrate the food inside.
stage 5
Start to draw a blissful bird, deleting it as required. Draw the tear-formed mouth and band it with a bent line. Utilize extra bent lines to frame the head, eye, forehead, wing, and the tuft of quills on the rear of the head. Conceal a little oval inside the eye to show the student.
stage 6
Complete your sketch of the bird, deleting as the need might arise. Utilize bent lines to draw the midsection, tail, and feet and to detail the neck.
stage 7
Utilize bent lines to draw a tree limb behind the scenes. Notice how the lines of the twigs meet at sharp places and how the bent lines cross over where the appendage meets the storage compartment of the tree.
stage 8
Draw tear-molded leaves, associating them with the twigs utilizing the bent lines that demonstrate the leaf stems and veins. Utilize extra bent lines to draw more tree trunks and branches.
stage 9
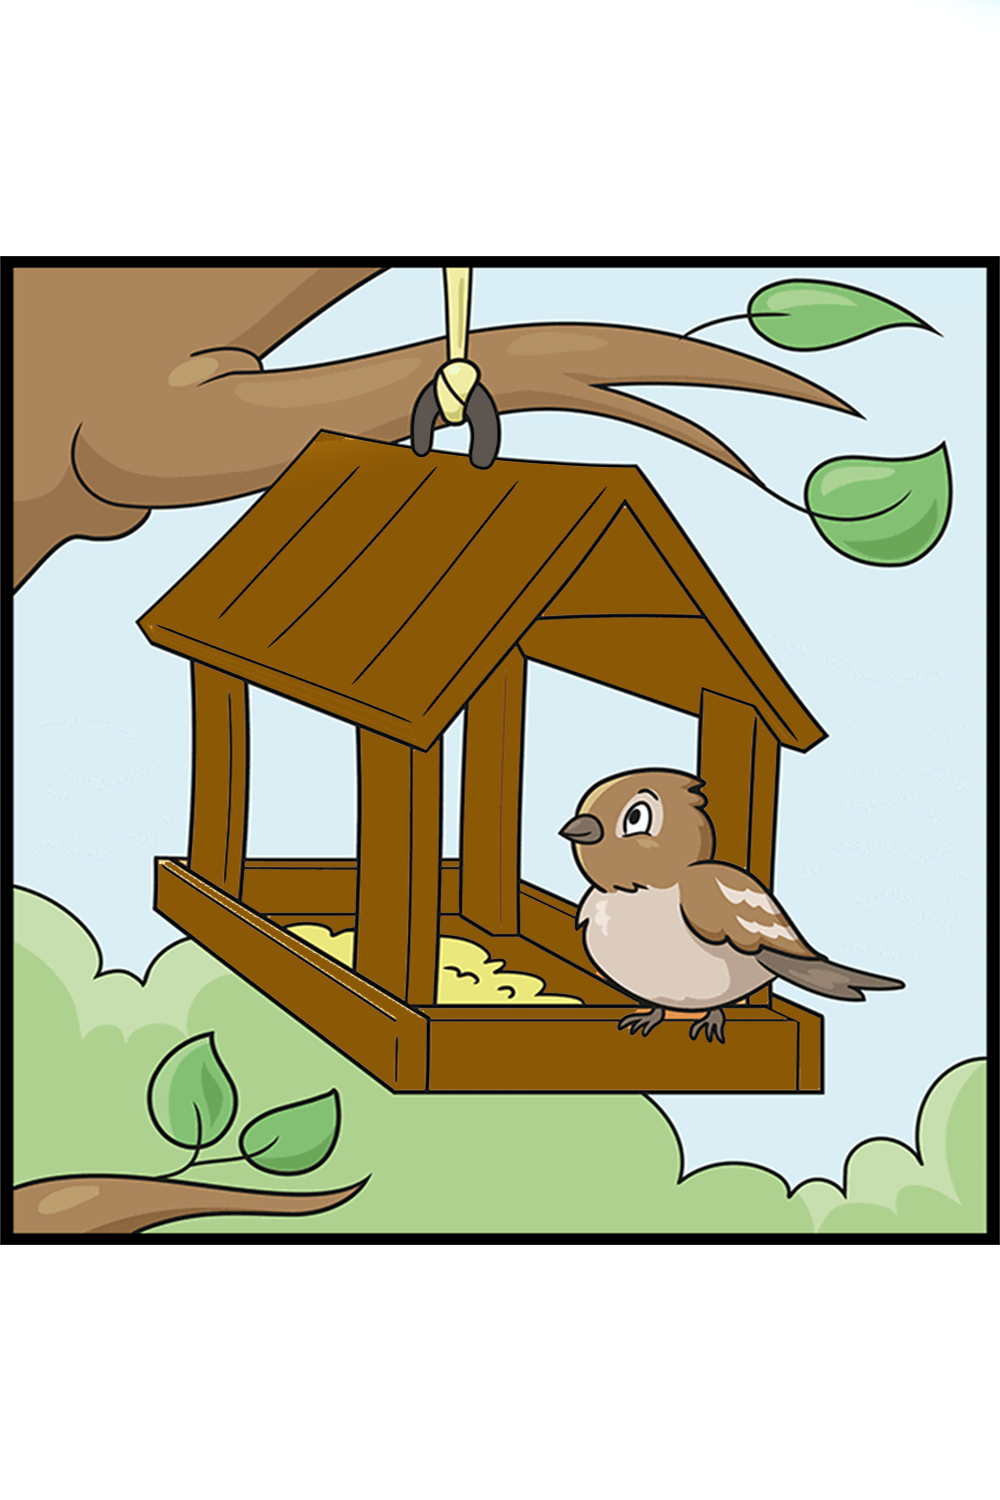
Complete your bird feeder frame by drawing extra leaves and the cloud-like highest points of different hedges and trees behind the scenes.
Also, Read Sahilpopli